ID Card Maker Software generates well-detailed Employee ID cards, Faculty ID cards, Student ID cards, Guest ID cards, and many other identification cards by using a set of inbuilt template samples and attractive backgrounds. Application provides an image cropping tool that allows you to edit and crop the images according to the size of your ID card. Program makes customized ID cards in different standard sizes including CR80, CR79, Durable 1455, Pin Style Badge, and so on. Software is easy-to-use and available for all Windows versions.
ID Card Designing Application is associated with an inbuilt batch processing series feature that helps you to create multiple copies of ID cards with different images, text, and barcode values. Software can also provide the facility to back up or restore the data for the batch series list. Software enables you to save your designed ID card as a template, and also export it as an image and pdf file format. Application can also send your created ID cards to a group of email addresses of your choice.
Follow the below steps to create wonderful identity cards using DRPU ID Card Design Software
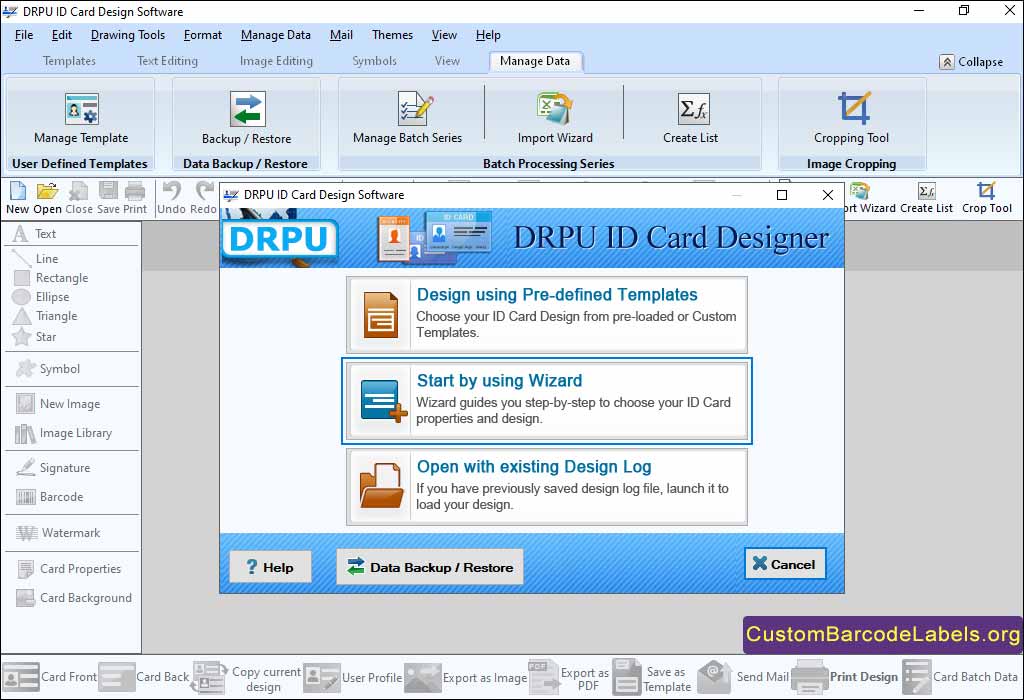
Step 1: Generate a New ID Card by using Wizard option
- Create a new ID card by selecting the Design Using Predefined Templates, Start by Using Wizard, or Open with existing Design Log option.
- Select the card shape (rectangle or rounded rectangle), card sides (double side or single side), card layout (vertical or horizontal), and card size.
- Choose a solid color, gradient, fill style or image for the card background. You can also show a border around the card.
- Add the different data fields like person name, position, organization, address, etc, on the ID card. You can add all these fields manually, or import them from excel file or batch series.
- Insert a user photo in your ID card by browsing the image from the PC or capture the image through the connected camera.

Step 2: Modify the Symbol Properties of the ID Card
- Personalize your ID card by using text, line, shape, image, signature, watermark, barcode, and many other design tools.
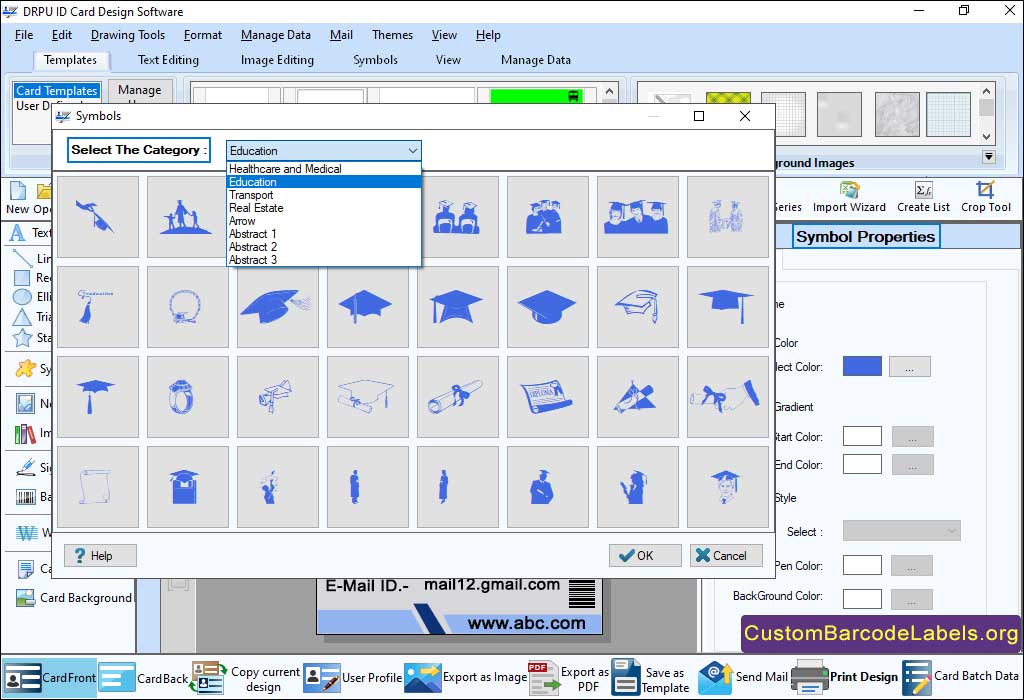
- Click on Symbol icon, and select the symbol category among healthcare and medical, education, transport, real state, etc.
- Choose the associated symbol and click Ok. Double-click on it to change the Symbol Properties.
- Insert an outline (color and width), and reflection (transparency, x offset, and y offset) in the symbol according to the need.
- Modify the symbol transparency, rotation angle, and fill type (none, fill color, fill gradient, or fill style).

Step 3: Print the Created ID Card
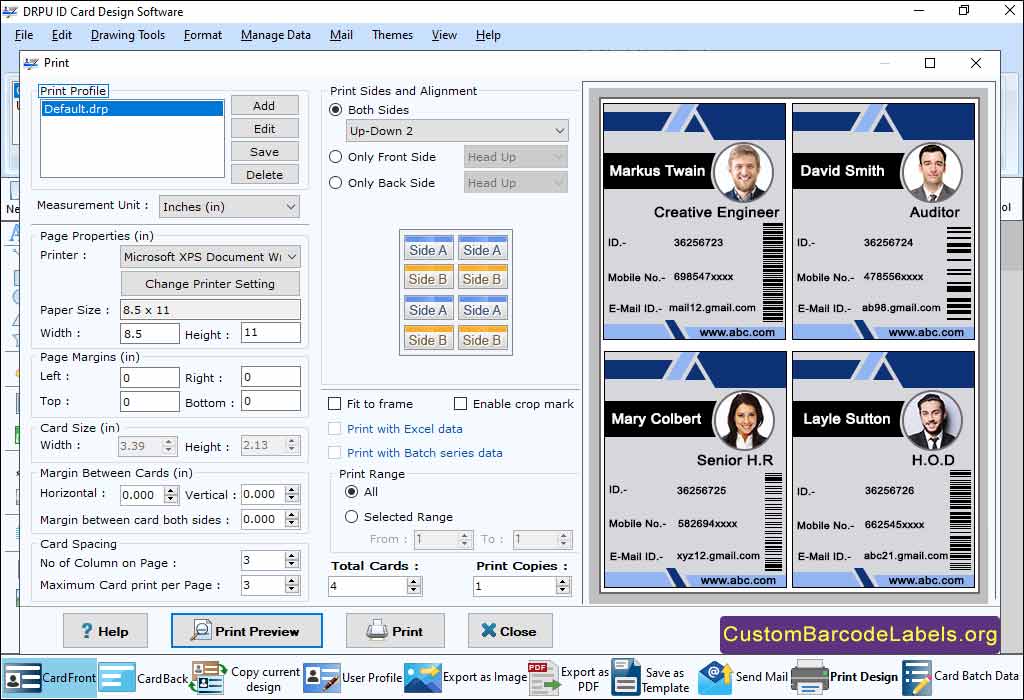
- After creating your ID card, select the Print icon and a Print Wizard will appear on the screen as shown in the below screenshot.
- In page properties, change the printer type, paper (A4, A5, B4, C, D, etc), and orientation (portrait or landscape).
- Change the page margins (top, bottom, left, and right), margin between cards (horizontal, vertical, and both sides), and card spacing.
- Change the print sides (both sides, front side, or back side), alignment (flip vertical or flip vertical), total cards, and print copies.
- Now, click on the Print button to print your created ID cards. You can also click on Print Preview to see the preview of your ID card print page.
